A solar panel is an electrical device that transforms sunlight. It is made up of photovoltaic cells, which collect sunlight and convert it into direct current power. Solar panels, which are primarily composed of silicon and come in a range of sizes and forms, can power everything from little devices to large buildings. They are a clean, renewable energy source that requires little maintenance once installed.
Why Solar Panel is efficient?
Solar panels are a renewable energy source because they utilise sunshine, which is a plentiful and free resource.
Installing solar panels can result in significant cost savings on electricity bills over time because the power generated by solar panels is free once installed.
Solar panels produce clean power while emitting no greenhouse emissions, helping to alleviate the consequences of climate change.
Once installed, solar panels require very little care, with just occasional cleaning required to preserve maximum performance.
Solar panels are a versatile and adaptable source of energy since they can power everything from little electrical gadgets to enormous structures.
why solar panel is more effective then electricity?
Renewable energy: Solar panels create power by harnessing the sun’s plentiful and renewable energy, as opposed to finite and diminishing fossil fuels.
Cost savings: Solar panels can reduce power expenses over time since the electricity provided by solar panels is free once installed.
Reduced carbon emissions: Solar panels generate clean electricity with no greenhouse gas emissions, which helps to mitigate the effects of climate change.
Low maintenance: Solar panels require very little maintenance once they are installed, with only occasional cleaning needed to ensure optimal performance.
Grid independence: Installing solar panels can provide energy independence by generating electricity onsite, reducing reliance on the power grid and potentially lowering the risk of power outages.
Solar Panel Installation Guide Step by Step Process
Step 1. Mount Installing process
- Determine the type of mounts required for the Solar Panels (roof-ground or flush).
- Install the mounts to provide a sturdy base structure for the Solar Panels.
- Decide on the direction to install the PV panels (south for Northern Hemisphere, north for Southern Hemisphere).
- Tilt the mounting structure to ensure maximum sunlight exposure (between 18 to 36 degrees).
- Consider using a solar tracker to increase conversion efficiency (optional).
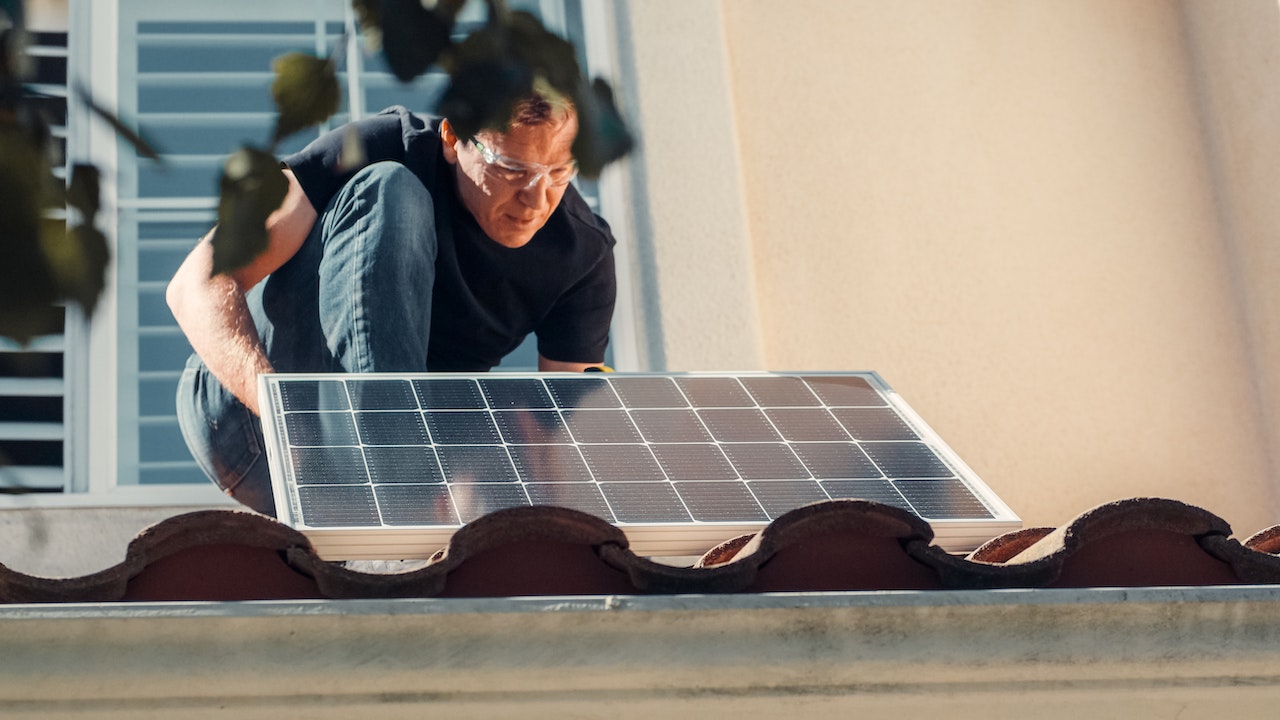
Step 2. Install Solar panels
- Place the Solar Panels onto the mounting structure.
- Secure the panels onto the mounting structure using nuts and bolts.
- Ensure that the panels are properly secured to the mounting structure to prevent any damage due to wind or other environmental factors.
- Verify the sturdiness of the entire structure to ensure longevity.
- Complete the installation process by checking all nuts and bolts are tightened correctly.
Step 3. Electrical wiring
- Gather the required electrical wiring materials, including universal connectors like MC4.
- Connect the solar panels to each other using series connection, which involves connecting the positive (+) wire of one panel to the negative (-) wire of another panel to increase the voltage match with the battery bank.
- Alternatively, connect the panels using parallel connection, which involves connecting the positive (+) to positive (+) and negative (-) to negative (-) wires to maintain the same voltage across all panels.
- Ensure that all connections are properly secured to prevent any electrical problems or accidents.
- Test the electrical wiring to ensure that the panels are properly connected and producing electricity.
Step 4. Connecting solar inverter
- Gather the necessary materials, including the solar inverter.
- Connect the positive (+) wire from the solar panel to the positive (+) terminal of the solar inverter.
- Connect the negative (-) wire from the solar panel to the negative (-) terminal of the solar inverter.
- Ensure that all connections are secure to prevent any electrical problems or accidents.
- Connect the solar inverter to the solar battery and grid input to produce electricity.
- Test the system to ensure that it is properly connected and producing electricity.
Step 5. Connecting inverter to solar battery
- Wire the solar inverter to the solar panels.
- Connect the positive terminal of the solar battery to the positive terminal of the inverter, and the negative terminal of the solar battery to the negative terminal of the inverter.
- Double-check all connections for proper wiring.
- Test the system to ensure it is producing and storing electricity as intended.
Step 6. Now connect solar inverter to grid and start the inverter
- Gather the necessary materials, including a normal plug and output wire.
- Connect the normal plug to the solar inverter.
- Connect the output wire from the solar inverter to the electric board that supplies electricity to the home.
- Double-check all connections to ensure that they are secure and properly connected.
- Turn on the main switch of the home and start the solar inverter.
- Most solar inverters will have a digital display to show the stats regarding the generation and usage of solar units.
- Test the system to ensure that it is properly connected and producing electricity.
Conclusion:
Installing solar panels is a great way to power your home sustainably.
You can set up your own solar panels using our Solar Panel Installation Guide Step by Step Process detailed in this tutorial with careful preparation, suitable tools, and attention to safety.
You can enjoy the benefits of renewable energy while potentially saving money on your energy costs by doing so.
You Might Also Like: